On the back of the GRP moldings there is marks for the mounting holes that sit proud, these need sanded and a 4 off 6mm holes drilled through them for the M5 retaining screws.
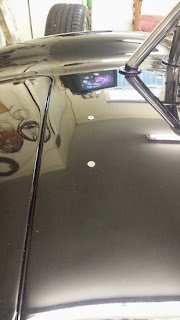
Next present the moldings to the body of the car AFTER covering the base in masking tape to avoid scratching.
When the lip at the front of the mold is sitting correct and the two halves meet central across the rear tape them into place so they do not move.
Once you happy take the 6mm drill and start to drill the body one at a time with the 6mm bit. TIP...... as each hole is drilled pop a 6mm bolt through the hole before drilling the next one this makes sure nothing can move.
2 of the holes each side are in the wheel arch so you will need to remove the wheels on each side. The next step is to remove the grp moldings then drill the body to M8 which allows the GD supplied retainers to be fitted.
Brings a tear to your eyes drilling into the body :)
With the fixings in the body, its back to the GRP moldings, first is to take 25mm of each molding where they meet in the center of the and make the cut at 45 degrees. This allows the hood when completed to be folded for storage.
The last job on the grp moldings before priming and painting them is to cut them flush with the door shut which is a simple job to mark once they are fitted to the body. After that prime the inside and paint them as this part can be seen from the inside when the hood is finished.


No comments:
Post a Comment